
File Share Tutorial
Using File Share
File Share allows you to send and receive tax information to our office easily and securely. It's easy to set up a File Share account. Just follow the steps below to create and make use of this convenient tool!
Creating a New Account
1. Go to our Home page, scroll to the bottom of the page, and click on the File Share icon, or click on this link to get to the File Share login screen. 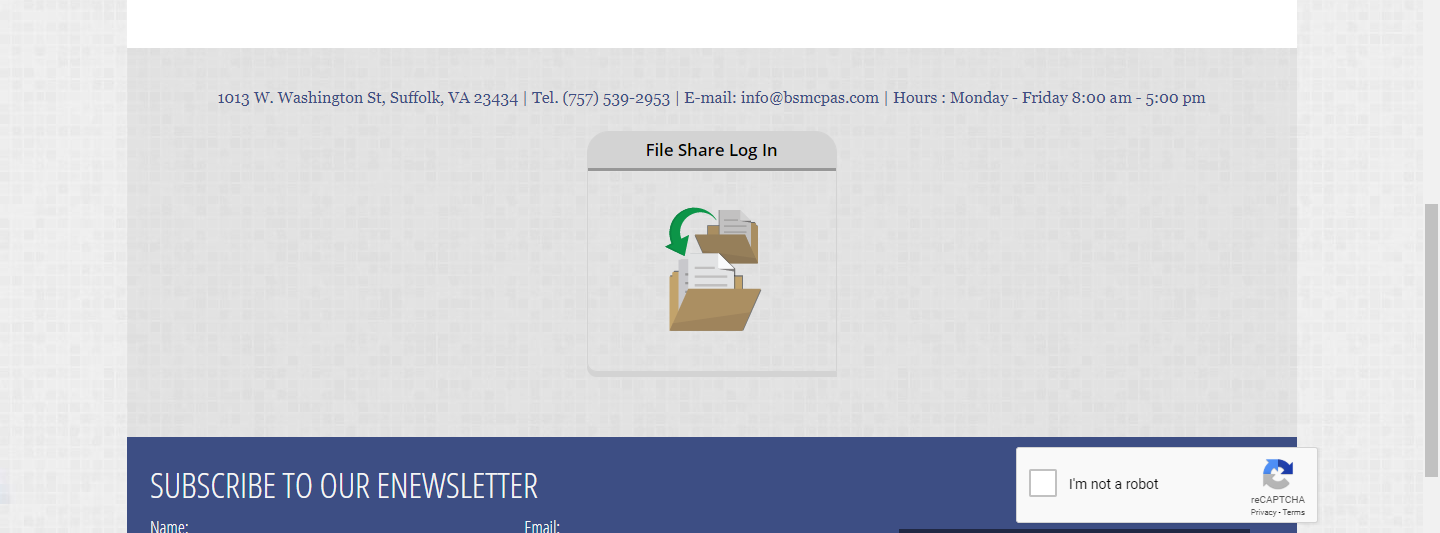
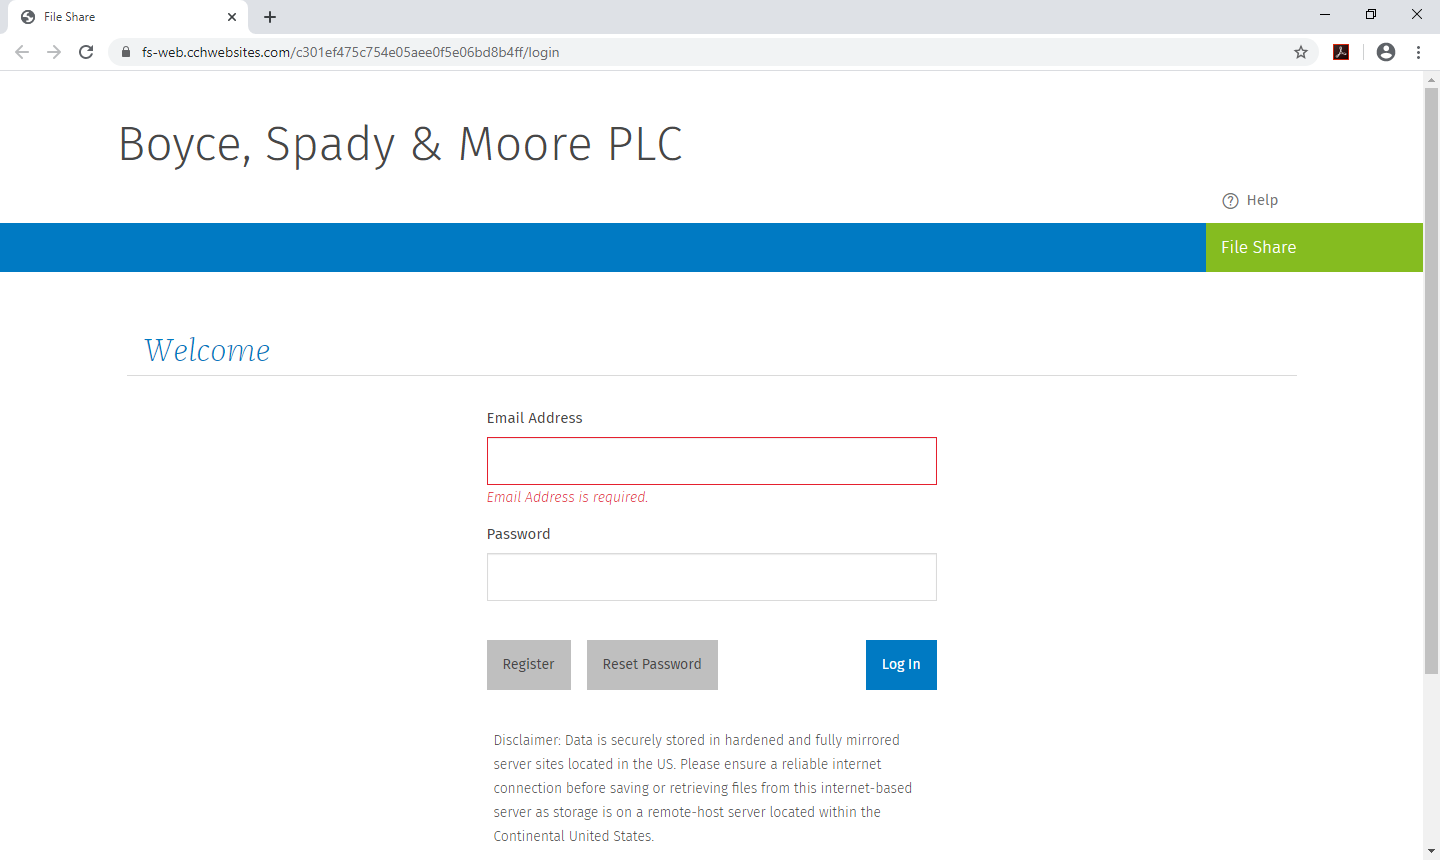
2. Click "Register." (You do not need to enter any information at this point.)
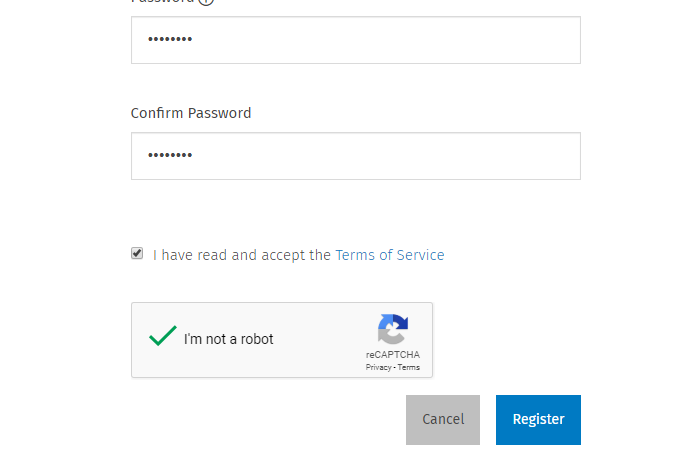
3. Fill out the form with your information and be sure to check the boxes to accept the Terms of Service and to confirm that you are not a robot. Click "Register."
4. You will be able to use File Share as soon as you receive an e-mail notifying you that your File Share account has been activated. (Check your Spam folder if you do not receive a notification within an hour during business hours. Activation outside business hours could take longer.)
![]()
Using Your Account
1. Go to our Home page, scroll to the bottom of the page, and click on the File Share icon, or click on this link to get to the File Share login screen.
2. Enter the e-mail and password you registered with and click on "Login."
3. Select how you would prefer to receive a one-time security code to verify your identity by clicking the circle next to your chosen option. (Your options are based on the information that you provided during registration.) Click on "Send the code."
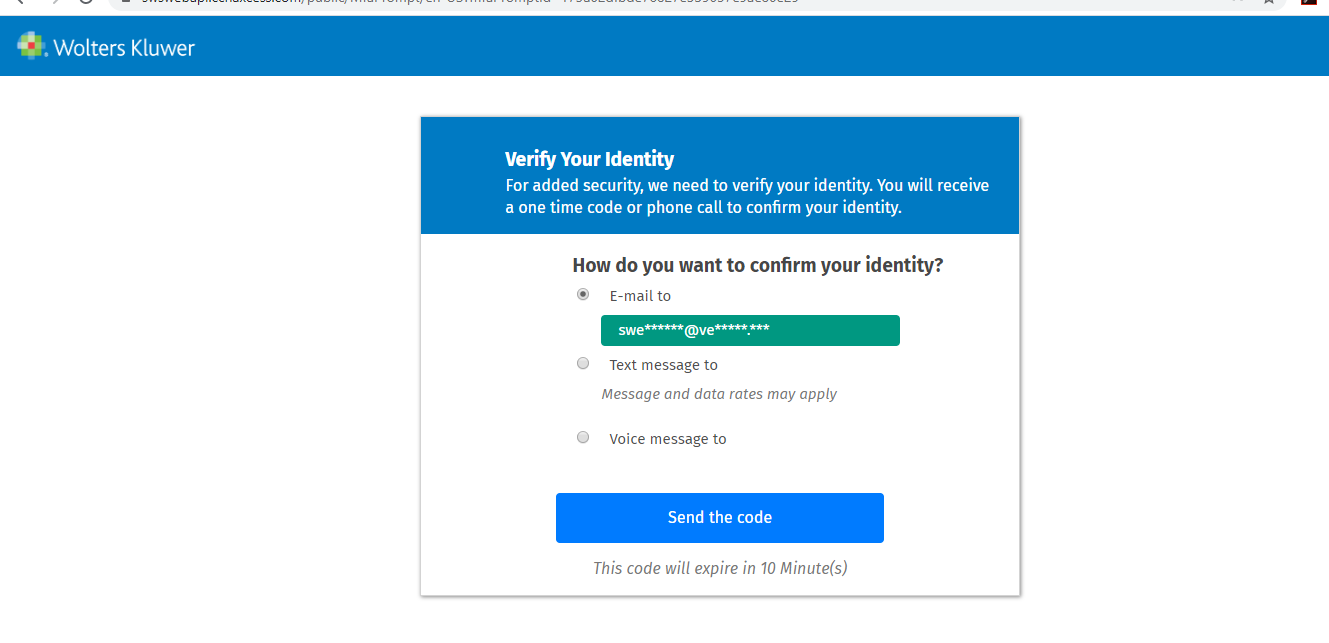
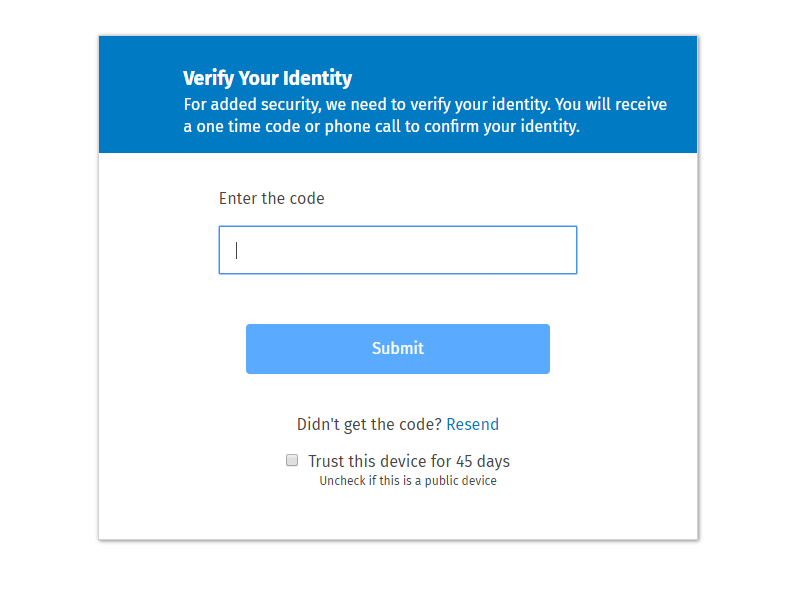
4. Retrieve your code from your e-mail, text, or voice message. Enter it in the box and click "Submit." Codes expire 10 minutes after being sent.
5. You will be directed to your "My Files" screen. Here you will see a list of files that have been sent and received. 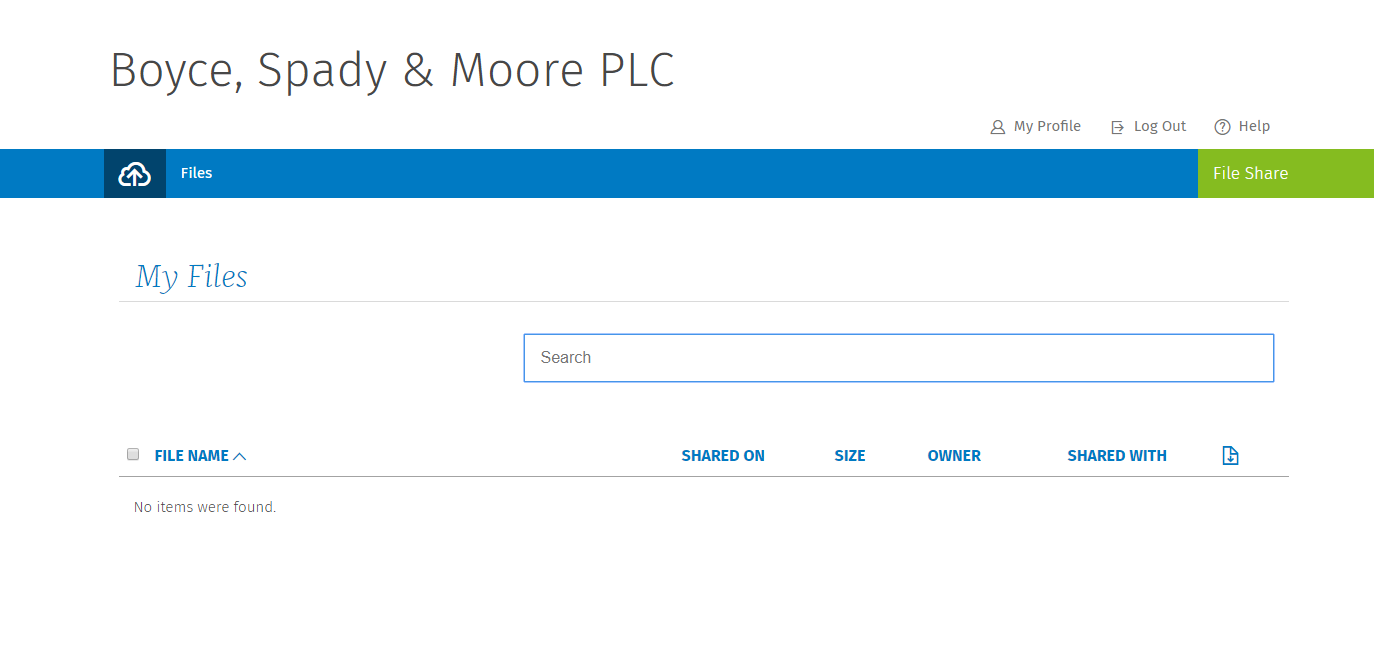
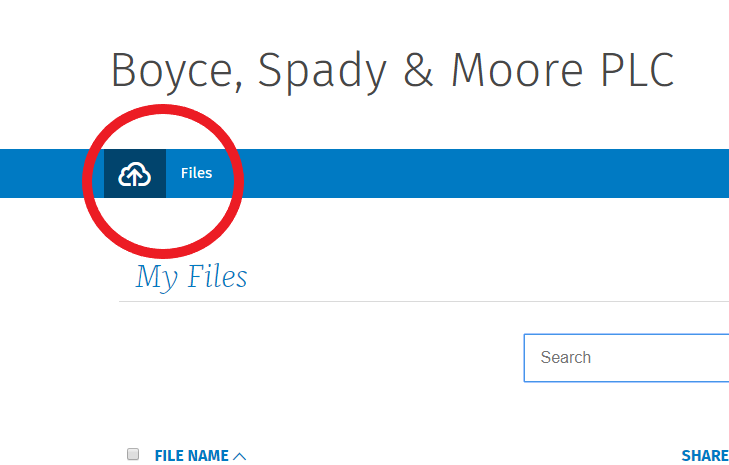
6. To upload a file, click on the blue cloud button in the upper left corner of the screen. (Scroll down to step 7 to get instructions to download a file.)
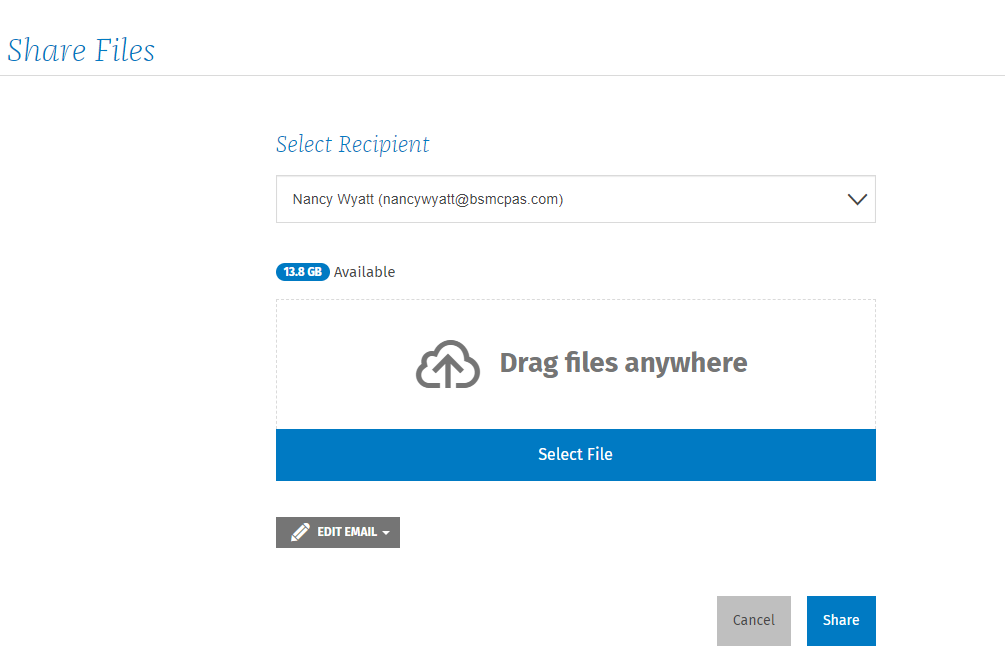
Click on the dropdown box arrow under "Select Recipient" to choose the person to whom you are sending your file.
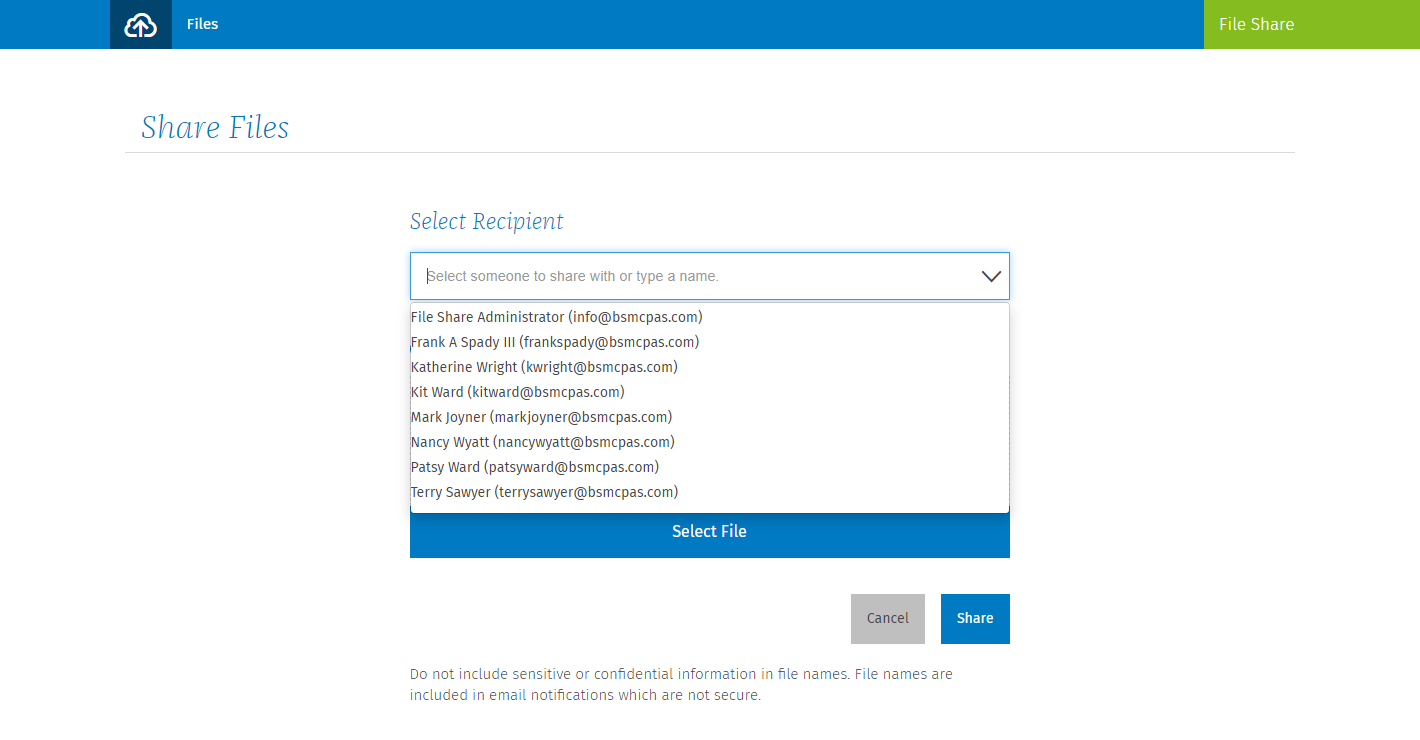
Click on "Select file" to browse your computer for your file, or drag the file directly from an open window to upload it. If you wish to add a note to your file, click on the "Edit E-mail" dropdown and edit the message as necessary. Click "Share."
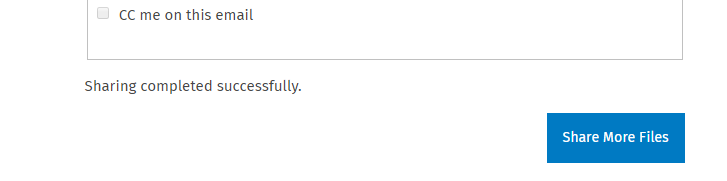
When your file has been successfully shared, you will see a message saying "Sharing completed successfully" at the bottom of your screen and the blue "Share" button will change to "Share More Files." If you wish to upload more files, you can do so at this time. If you are done, you can log out by clicking "Log Out" at the upper right corner of the screen.
7. To download a file, find the file you wish to download in the list. You will be notified that a file is available to download through your e-mail. (If you are expecting one and don't receive a notification in a timely manner, check your spam folder for an e-mail. If you don't see the notification there, contact our office.)
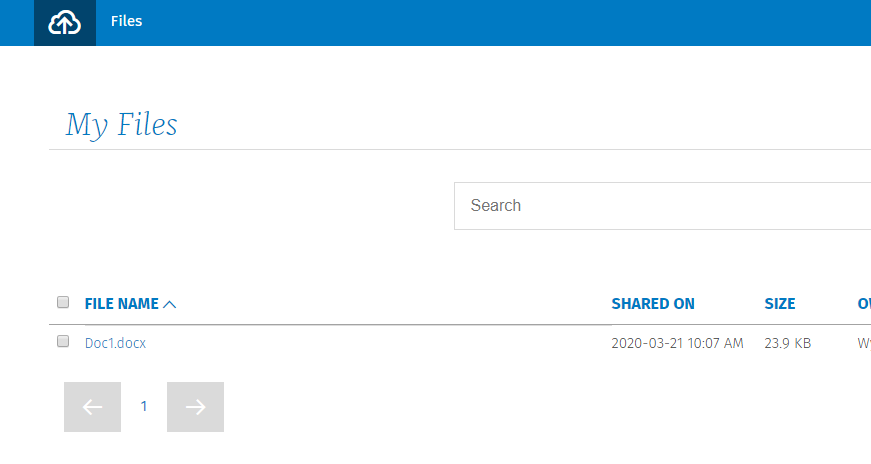
Click on the name of the file that you wish to download. It will be automatically downloaded to your "Downloads" folder to access. When you have finished using File Share, be sure to click "Log Out" in the upper right hand corner of the screen.
If you have any questions, don't hesitate to contact our office at 757-539-2953 or info@bsmcpas.com.